Climbing The Cobbler
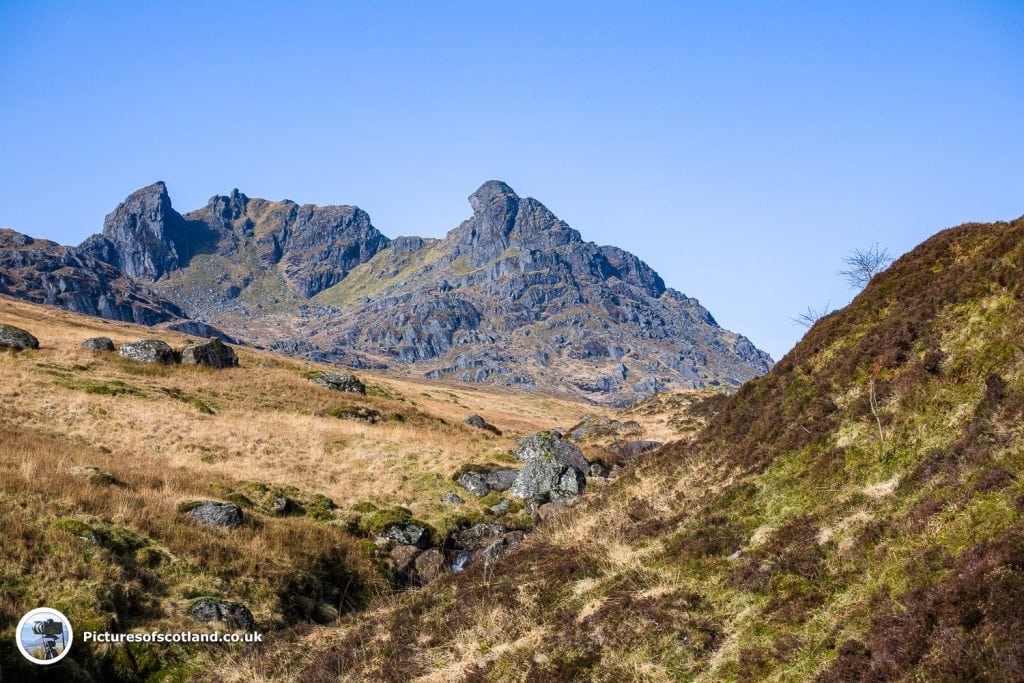
Ben Arthur, more commonly known as "The Cobbler" is one of the most recognisable mountains in Scotland.
At 884 m high, it is a Corbett, just short of being a Munro.
It is a straightforward climb (North and Central peaks) and not too challenging technically - unless you plan to "thread the needle" - see later on!
So why is it called The Cobbler? Well it is said that the shape looks like a cobbler working at his last, mending shoes - I've never been able to see this, but it is still a great looking mountain and one of my favourites.
Getting there:
Part 1
Succoth car park is the start point for this climb. It is just past Arrochar at the head of Loch Long.
Last year when I climbed The Cobbler, the car par charge was £1 for the whole day. Currently, the price has increased to £1 per hour.
This increase in charges infuriated the climbing community, but as I arrived in the car park, it doesn't seem to have put people off!
At 9am, the car park was already busy and a steady stream of climbers were setting off as I got my gear on.
Part 2 - The Zig Zags
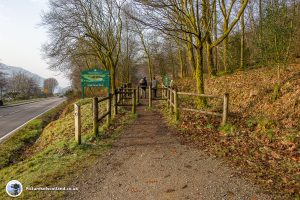
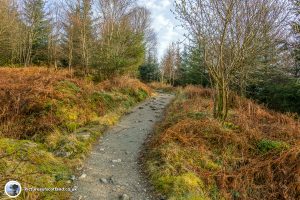
The climb starts just over the road and to the left. The path enters some woodland, and this is the start of the "Zig Zags".
The zig zags are easily viewable on the Google map above. They are a serious of switchback paths which take you up the hill on a fairly gentle gradient.
However, some parts are more gentle than others, and you may still find that you will have to shed a layer.
When you reach a bench, turn left on the track until you see the path continuing off to the right.
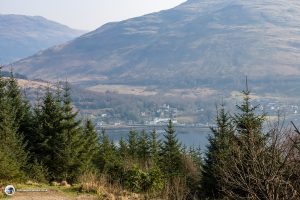
Occasional gaps in the trees give fine views over to Arrochar and down Loch Long.
Part 3 - The Cobbler Comes Into View
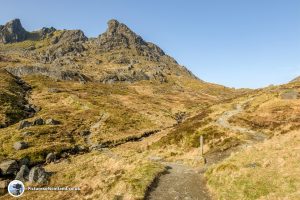
Finally clear of the Zig Zags, you emerge from the trees, and soon you get your first view of the Cobbler - and it looks pretty impressive....
...or just a wee bit scary.
Follow the path alongside the burn on the left hand side, past the small dam.
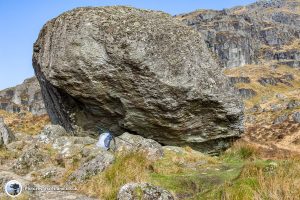
The going is pretty easy now. Soon you'll come to the famous Narnain boulders.
These are huge, and to give an idea of the size I've included my rucksack in the shot.
Decision Time
Carry on past the boulders, and soon the path splits. The left hand fork is the direct route up the face of the Cobbler.
It's quite a well made path, but you are climbing directly up.
The right hand path is longer as it swings round the back of the hill, and the ascent is gentler.
As I had previously climbed the direct route, this time I chose the "gentler" ascent.
It's not that gentle! I certainly had to have a few camera breaks on the way up!
Part 4 - On Top of The Cobbler
Follow the path round the back of the hill. The path to the top splits off to the left and you can't miss it.
The path is well made, a bit boggy in parts, and becomes less well defined as you near the top.
Finally you arrive at the col between the North and Central peaks - to the left is the North peak, and to the right is the central peak.
Head to the right to reach the central peak.
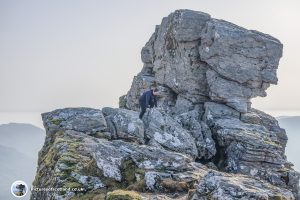
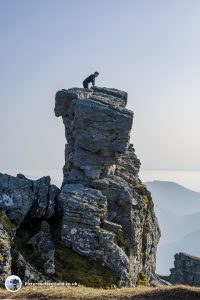
It is here that you find the famous pinnacle and you can "thread the needle" - or in my case watch people threading the needle.
You have to crawl through a hole in the base to reach a narrow ledge - and from there, access the top of the stack.
Even the guys who did it, when they came back down, said it was "proper scary".
Not for me. I also watched a few people go through the hole and then turn back - not for them either!
Part 5 - The North peak
The south peak of the Cobbler is only accessible to experienced rock climbers, so don't bother with that one!
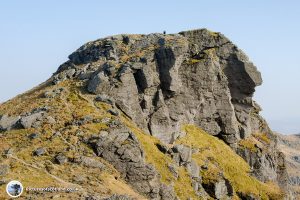
But as you return on the path, continue past the descent route and follow the track to climb the dramatic North peak.
It has fine views from the top, and a good view through the hole in the central stack.
Finally head back down the way you came. It's a great climb, well done!
You May Also Like
Edinburgh Castle in the Snow
26 February 2018
The High Street Edinburgh
11 February 2018



3 Comments
Sylwia
Hi,
Great tips.
How long does it take both ways?
Than kyou🙂
scotlens
Hi, well I’m pretty old, and I would reckon on 6 hours for the round trip
Pingback: