Climbing Ben Nevis – The Big One
If you go hillwalking in the UK, sooner or later your mind is going to turn to climbing Ben Nevis. Ben Nevis is the highest mountain in the UK, and as such, it is challenging!
Just because there is a path to the top, don't be fooled, this is a hard climb. You will need to be physically fit and properly equipped.
It is 1,345 metres high. At the top it is usually around zero degrees, even in summer, and visibility is often obscured by clouds.
Getting to the top should take about 4 hours, and that is the easy bit - coming back down could take around 3 hours, and that is when most people start to really suffer - knees in particular!
I am in my sixties, and climbed regularly through the summer to get myself fit before setting off up the Ben - and thank goodness I did.
After the climb I felt elated - but it took a week for the aches and pains to subside!
Getting There
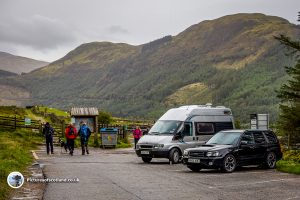
Rather than heading to the Ben Nevis visitor centre, where you have to pay for parking, I set off from the Ben Nevis Inn - free parking, and a very welcome beer when you come back down. (not to mention the very welcome toilets - Ben Nevis is extremely busy, and you may find you have to do the whole climb without a comfort break!)
Climbing Ben Nevis - Part 1
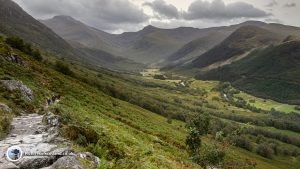
Park at the Ben Nevis Inn. Remember Ben Nevis is incredibly popular, so you probably want to get there reasonably early to be sure of getting parked. Plus, it is probably going to take the best part of 8 hours up and down, so again, an early start is advised.
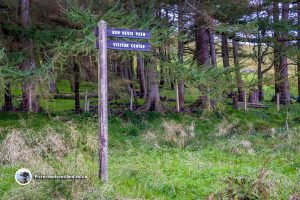
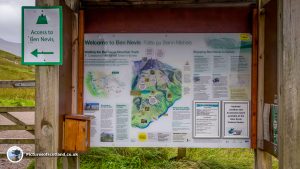
The path is well signposted and there is an information board with lots of useful advice.
Before you set off, make sure you have:
- Enough food and water - it's a long day.
- Warm layers - no matter what time of year - it's cold up there.
- Warm gloves - essential!
- A compass and a map - and know how to use them.
- Good boots with ankle support.
- Walking poles are also recommended.
- Check the Mountain Weather Forecast.
Part 3
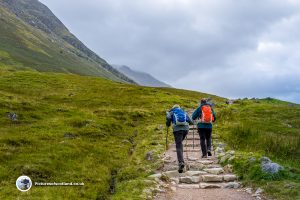
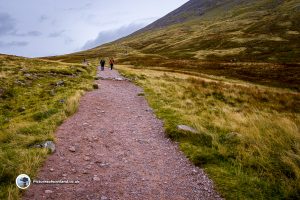
The gradient levels out a bit, and at a junction, swings to the right.
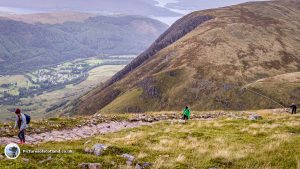
It is slightly disheartening when you look up to the right at the tiny people threading their way up - and realise how far you have to go.
Look to the top right of the photograph for the little black specks that are people.
The path is good at this point, although you do have to ford a fast flowing stream which apparently marks the half way point.
Part 4 - The Zig Zags
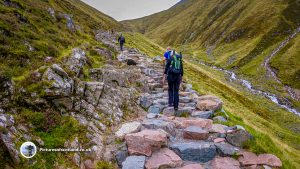
The route starts to climb in a series of zig zags - there is an obvious track, but it picks its way through tricky boulders and scree - good boots are essential.
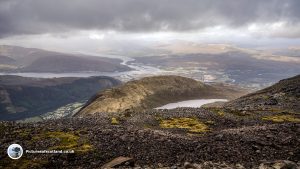
At this point the weather closed in and the camera had to go away, but it cleared briefly at one point to get this shot - which shows some of the scree off to the side of the path.
Part 5 - The Summit of Ben Nevis
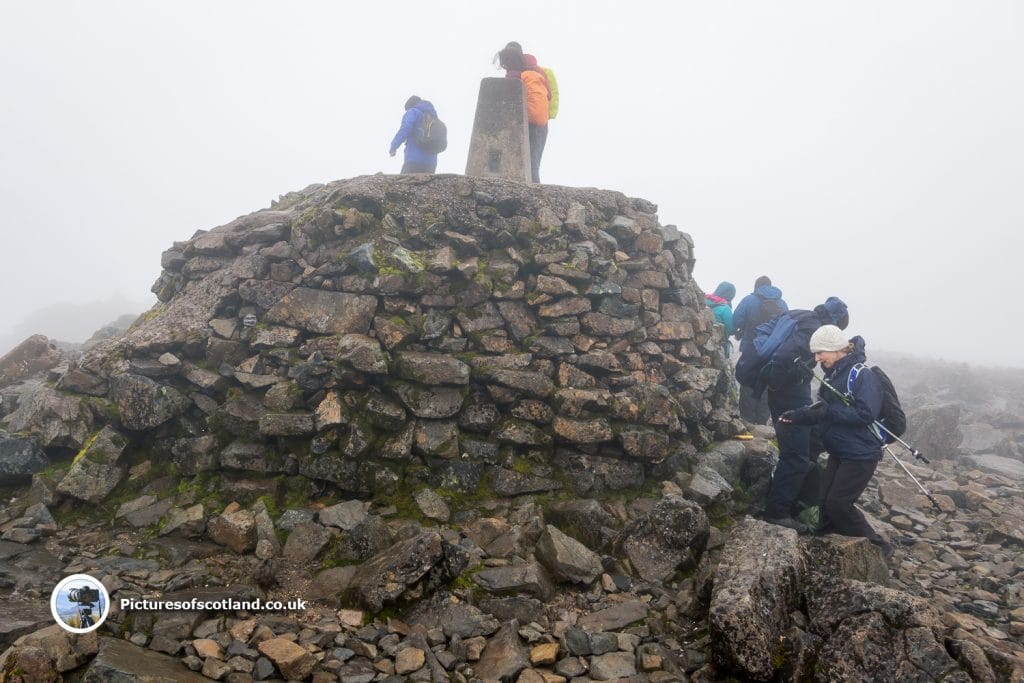
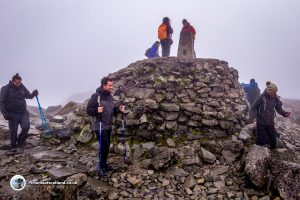
When you finally reach the end of the zig zags, the gradient is easier. There are steep drops off to the side here so don't stray. The day I climbed, these weren't visible due to the cloud.
Luckily, there is a series of large cairns which guide you up to the summit - do not stray off to the sides. The going underfoot is a boulder field so tread carefully.
Despite wearing gloves, my hands were so cold, that I only stayed for a short while before heading back down.
If the visibility is so bad that you can't see the cairns to get back down then you will have to use a compass to avoid the steep drops.
Starting at the summit cairn, follow a bearing of 231 degrees for 150 meters - from there, head down on a bearing of 282 degrees to reach the start of the zig zags.
This is a hard climb, there is a great sense of achievement when you reach the top. However, going down was where the real challenge started for many.
Lots of people going down were obviously in some pain - mainly it seemed from sore knees.
I was strapped up with my favourite neo - G knee supports which I can't recommend highly enough!
For one of my climbing companions, it was his third time, for another, the second time - for me at my age, once is enough!
You May Also Like
Sron a’Chlachain
9 November 2018
Spartleton Hill and The Herring Road Circular Route
29 March 2019
One Comment
Gloriana
Vety beautiful pictures, I want to go there!